Building The Body
**Note**
Only the essential steps in creating the body will be described. All steps not
shown are combinations of previously described techniques.
Step 01
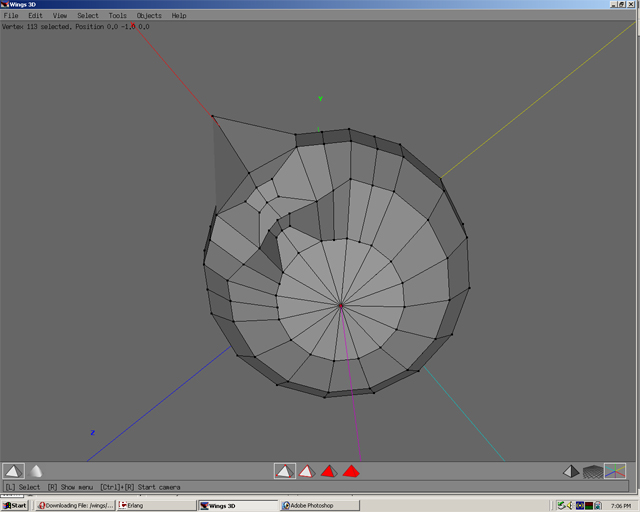
Select the vertice at the bottom of the head.
Step 02
Select bevel and move to the desired position.
Step 03
Move the face normal.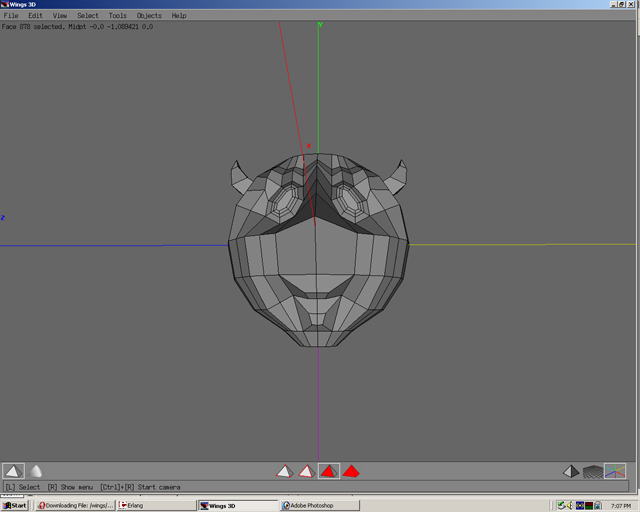
Step 04
Extrude, then scale.
Step 05
After doing multiple extrudes, select an edge loop.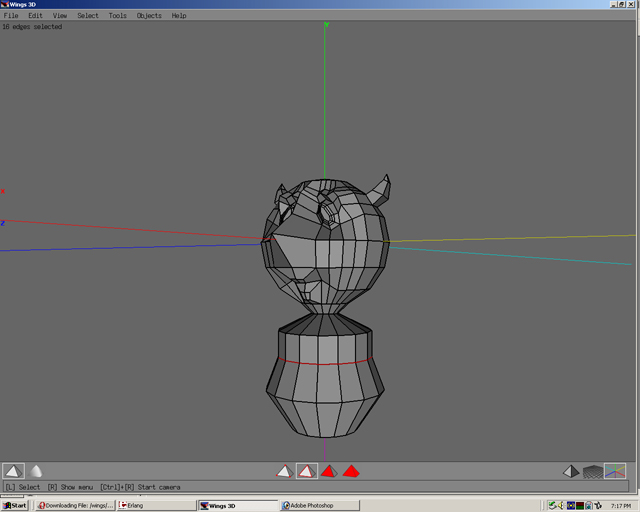
Step 06
Select move, then normal.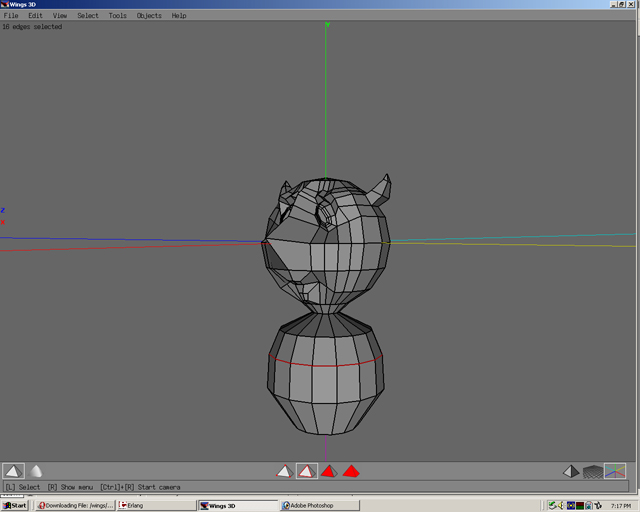
Step 07
Move faces, edges, and vertices until you get the shape you want.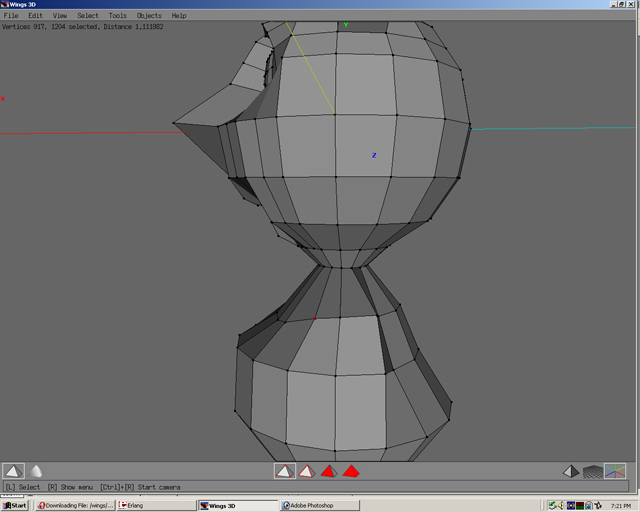
Step 08
Hold shift and press Z to see the model from the left side. Select 3 faces.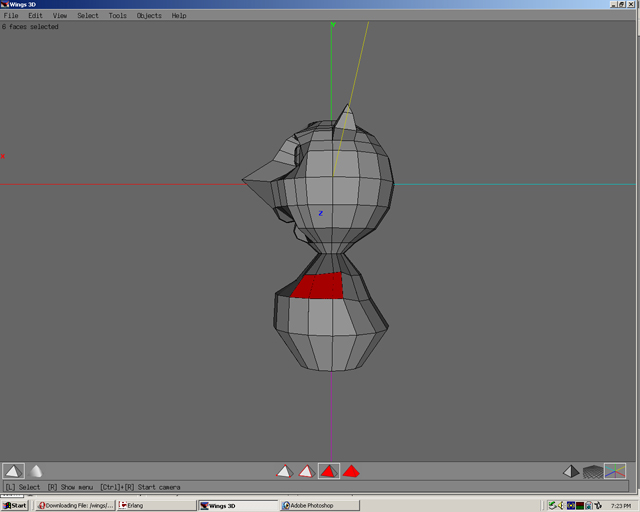
Step 09
Press Z and you can see the opposite side. Switching back and forth from Z axis to negative Z Axis(Shift+Z) can help to make the same selections on different sides easily viewable. This works best with the model is centered on the X axis or Z axis.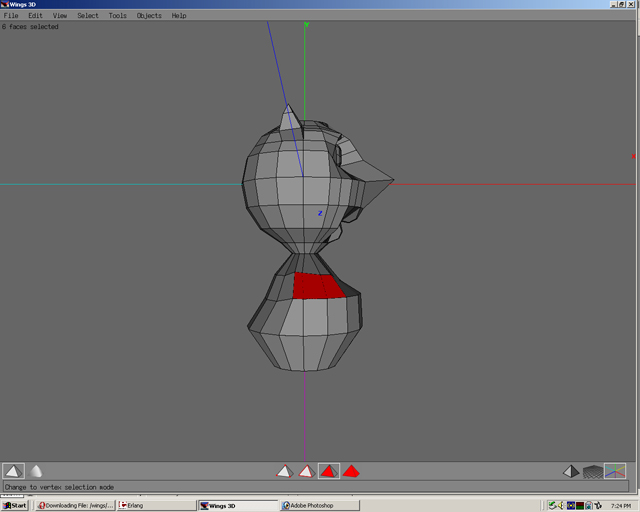
Step 10
Find a good angle to look at the model. Use look mode(ctrl+right click) to find the best angle(s).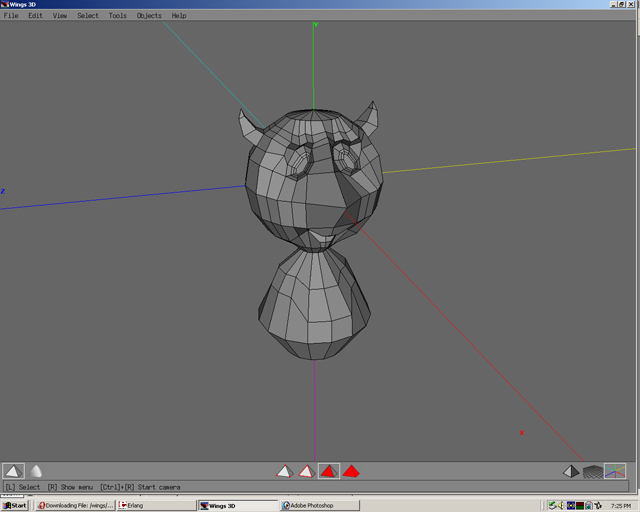
Step 11
Press shift+tab to see the model. This helps to recognize what areas may need more work.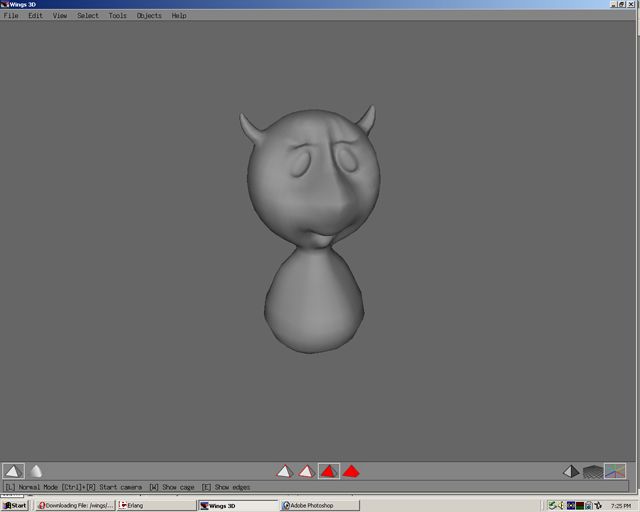
Step 12
Select the face.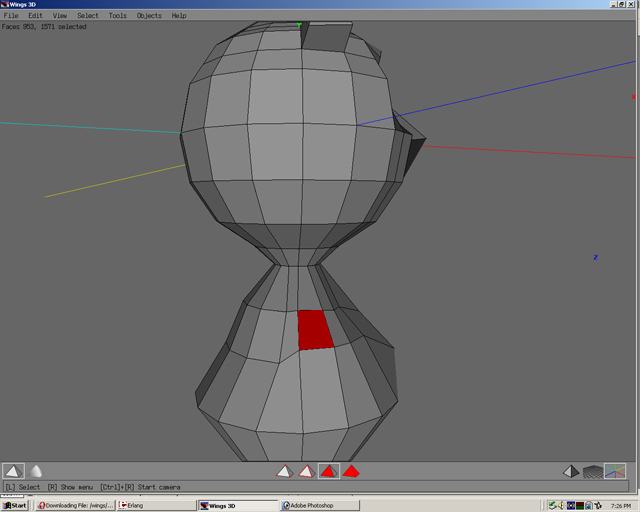
Step 13
Now is a good time to save. Go to the menu and select file, then save as. Select create a folder if a 3D folder is not already created. The new folder created will be highlighted and outlined in a box. Rename to 3d. Select the 3d directory and open. Name the file and save.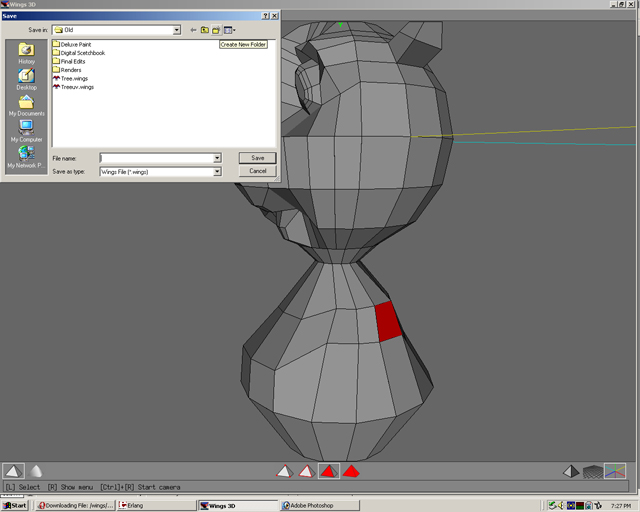
Step 14
Select the face on the opposite side of the model. Then extrude normal.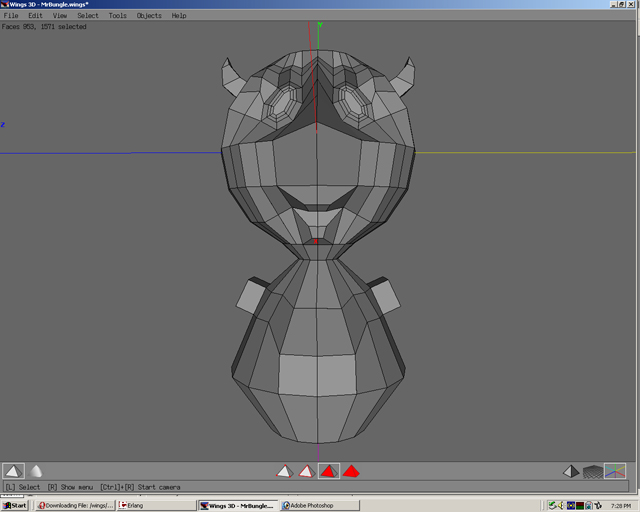
Step 15
Select flatten, then z.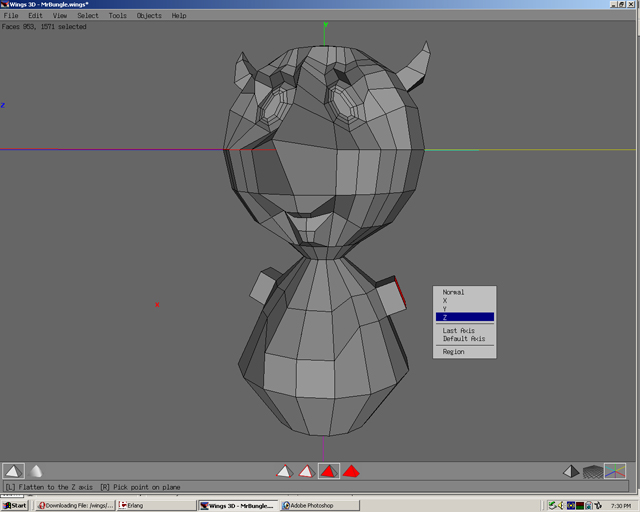
Step 16
Extrude normal multiple times.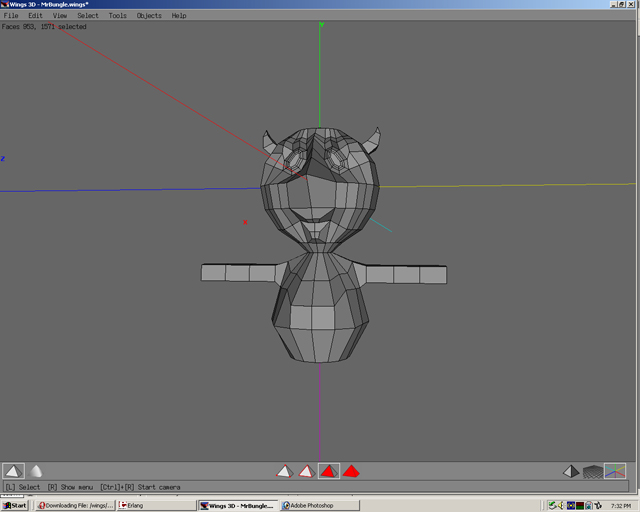
Step 17
Use edge loops, then scale uniform.(using edge loops, then move normal has a slightly different effect)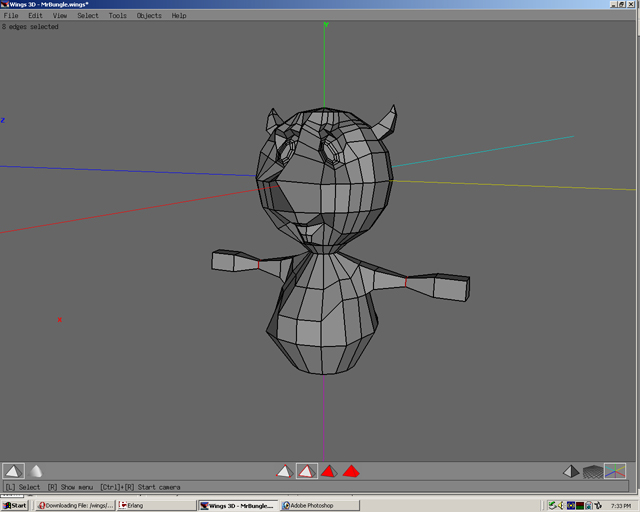
Step 18
Connect vertices and recreate the bottom that once once there.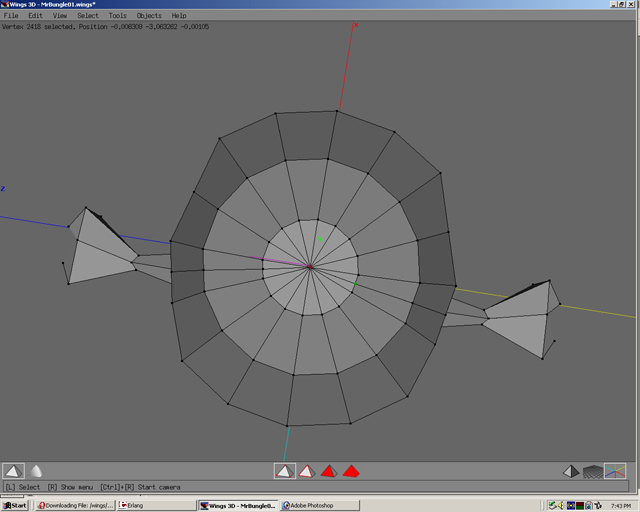
Step 19
Select two faces and move normal.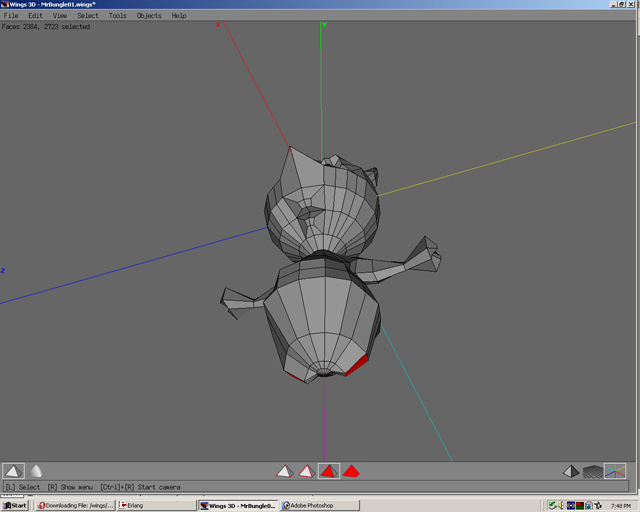
Step 20
Do similar techniques of extrude, moving points, connecting edges/vertices to create the legs as had been done to create other parts of the model.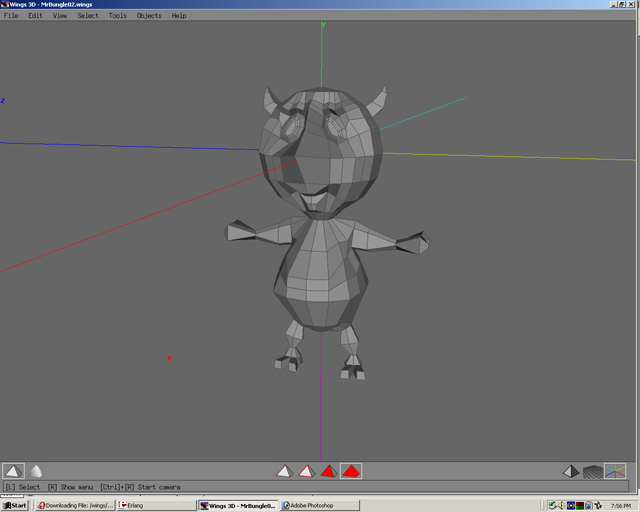
Step 21
Select smooth shaded preview to look at the results.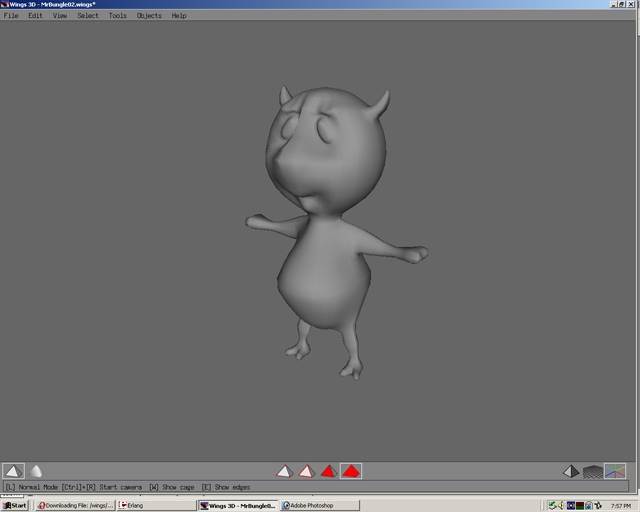
Click to go back - Advance
Click to move on - UV Mapping